Anyway, 5 years later and my PSP has seen better days. The battery door isn't so tight anymore. There are cracks and scratches in the faceplate... So I did the most obvious thing to do to a device that has no warranty: I tried to mod it.
I thought, "how hard could changing a shell be?" Heh, right.
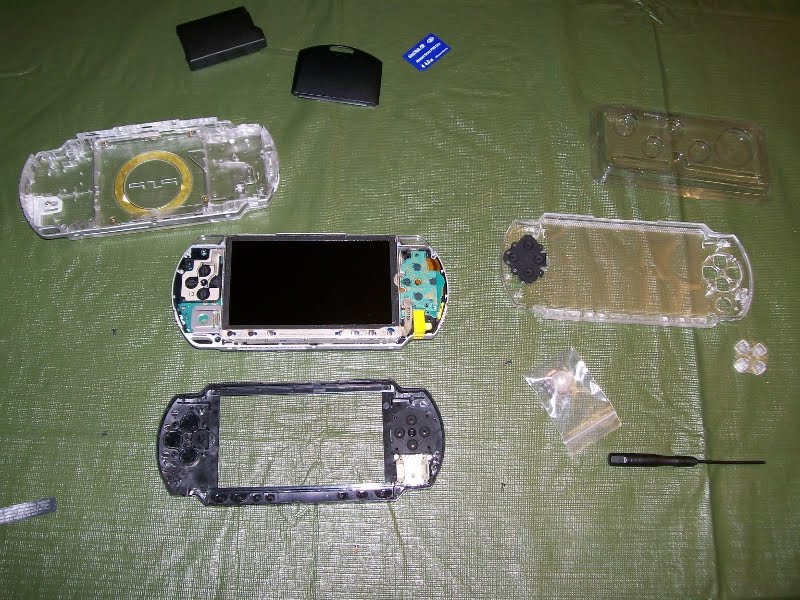 I started with the most obvious step: I turned over my PSP and removed all the screws I could see. The faceplate popped right off. I fitted the new clear stick, clear buttons, and clear D-pad onto their rubber mounts. Then... I examined the back.
And that's when I realized for the first time that while the front faceplate is a bit like the panel on the side of a PC, the PSP's back cover is like the chasis of a PC... this would take a little more time. Thankfully there are plenty of visual guides on Youtube on the disassembly of a PSP.
 Before I knew it, I had the front button bar out, the LCD screen, the bracket, the wi-fi, power, sound card, and mobo out. To keep track of every piece and screw, I taped stuff to sheets of paper. The hardest part was changing out the UMD drive... popping the door in and out was a scary affair because despite pulling apart everything, I still didn't want to actually break anything.
Reassembling was easy except for the fact that the new plastic shell doesn't quite exactly line up like the original Sony one. I had to Dremel a bit to get screws to fit.

 Here's the semi-finished PSP in the new shell. Surprisingly, much of it works - I'm pleased to announce I didn't seriously break any of the circuitry. Unfortunately that's not to say it's perfect.
First, the controls are not as responsive as before... I feel like I need to press the D-pad and the front buttons harder. And the power switch is finicky - sometimes not wanting to turn on or off. But the number one problem I still need to debug: the analog stick is sticking! At first I thought it was the new stick being defective. But after removing the shell and holding the stick down in place, it seems to work fine. Not really sure what else to do...