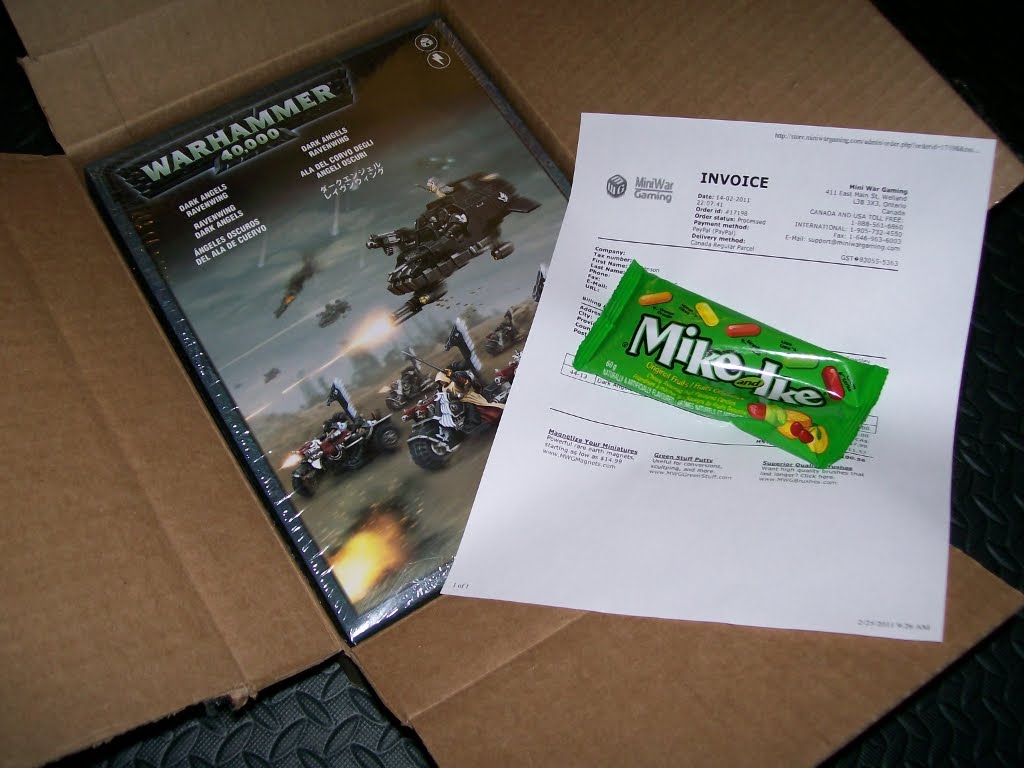
I didn't forgot about this build, but a bunch of events conspired to keep me away from this project.

One more look at the walk-way: as you can see now on the completed piece, all the panels cleverly lean into each other. The angles are almost snap-fit.
The turret is the last major assembly to do. This is where Games Workshop's design experience shines. To minimize the number of molds, almost all parts in this kit are double-sided: the turret mount is actually the missle-silo upside-down. And a majority of the parts of the turret itself is symmetrical so all the pieces. For example, the drum is made of 2 halves and the cannons of 2 pairs of left and right halves.

This step is very time-consuming as I recommend allowing ample time to dry. Use only 2 drops of glue per panel. And I cannot stress enough: always test-fit! The turret is full of moving parts so a single bit of errant glue will ruin your day.

Fit the drum into groove within the housing and then just a small drop of glue for the opposite panel. Don't worry, you just need enough to help hold it in place. There is a final bottom plate that will hold it all together once glued on.

Lastly I want to show you why this project too extra long: I was waiting for magnets. Here are some tiny bolter-guns and search-lights. Careful - some of those parts are delicate. One of mine was broken but luckily the tiny bit was found at the bottom of the box with a clean snap and I could glue it back together.

The lamps can also be made to pivot as long as you're careful with the glue.

Finally here's what I had planned all along...

First I use a sharp point to prime a center underneath each bolter and lamp. Then I progressively drill to widen the hole up to about 1/8 inch. I will fit those tiny little magnets you can get at hobby shops... A little bit of putty into the hold and push in the magnet - wait to try. A good trick is too use the entire stack of magnets in your fingers so that you remember exactly which polarity is facing which and you'll also remember to drill and putty the opposite direction later on the opposite part (in my case, which way should face outwards from the spot where I want the guns and lamps to mount).

Naturally, I also took time to drill proper barrels and ports. I don't know why Games Workshop do not do that since the rest of their parts are often so detailed.

And at last, a look at the Fortress before priming and painting.


 The decision came down to this simple fact: buy it now or buy it later at a huge mark-up. I bought it now and it didn't cost anywhere near what a paid for the previous statue. I even got the "Episode III" exclusive head option.
 Unlike the Scout Trooper there never was a physical costume at Lucasfilm for the Clone armoured troops - it was always a CG render in the films. So Sideshow's challenge was to make an interpretation of the suit where all the edges worked together without "cheating." Compared to the Scout Trooper, there's a lot less fabric parts of this figure and generally a lot less details to miniaturize.
 It does feature weathering details - the armour is not a pure white but is covered in a brown of Geonosis dust. He wears a textured body-suit under the armour. And of course, carries a standard-issue rifle. The junked Seperatist battle-droid arm on the ground is also an exclusive option (the statue does come with a "plug" to hide the hold where the optional arm plugs into the base).
 But why would you do that?